How to Screenshot on Windows 11 & 10 with/without PrtScn Key

Summary :
This article introduces 6 ways to quickly take screenshots. Helps you quickly save and share Windows screen content.
Table of Contents
How to Screenshot on Windows
When using a computer for work or entertainment, you often encounter content that you want to share with family and friends, or content that needs to be saved separately. In this case, the most convenient and quickest way is to take a screenshot.
On Windows devices, both Windows 10 and Windows 11 provide a variety of screenshot methods, supporting the capture of the entire screen or a specific area. This article will introduce you to 6 effective ways to use keyboard shortcuts or screenshot tools to take screenshots, which can help you solve the problem.
Print Screen (PrtScn) Key:
The easiest way to take a screenshot on a Windows device is to use the keyboard shortcut PrtScn (Print Screen) key. This method captures the current contents of the entire screen and copies it to the clipboard, where you can then paste it into an application such as Paint or email.
Other than that, a little tip, you can use Windows key + V to bring up the clipboard to view the currently taken screenshot.
In addition to taking a full-screen screenshot with the PrtScn key, using Alt + PrtScn can quickly capture the currently active window and copy it to the clipboard.
Step 1. Go to the screen you want to capture.
Step 2. Press the PrtScn key and Windows will automatically capture the current screen. Please note that in this method there will not be any relevant confirmation shooting information on the system interface.
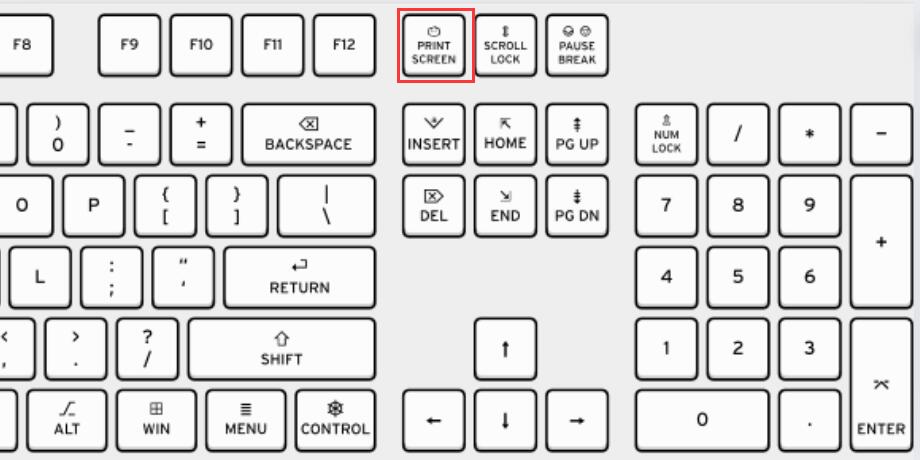
Press Print Screen Key
Or press Alt + PrtScn keys to quickly capture the currently active window.
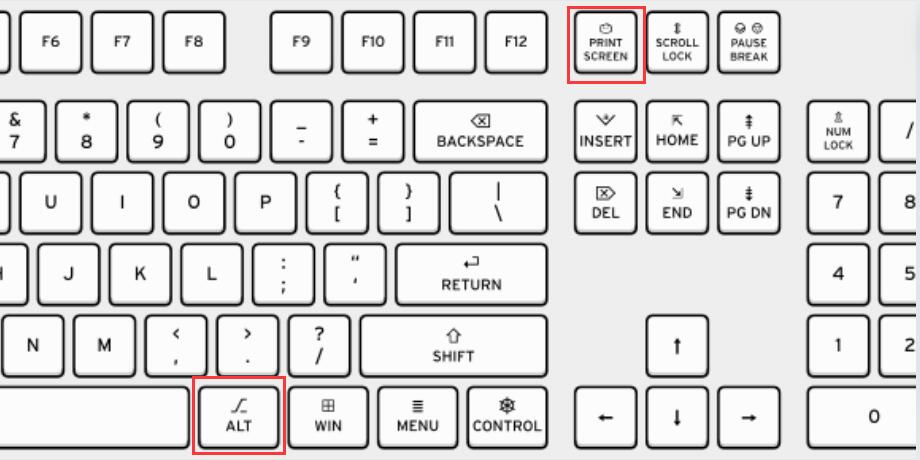
Press Alt and Print Screen Key
Step 3. Go to the application where you need to paste the screenshot and press “Ctrl+V” to paste the screenshot in the clipboard.
Windows + Print Screen:
Like the first way, pressing Windows + PrtScn keys simultaneously will also capture the entire screen. But the difference lies in the saving path. This method saves the screenshot as a PNG file directly to the Screenshots folder, typically C:\Users\[YourName]\Pictures\Screenshots).
Compared to directly using the PrtScn key to save content to the clipboard, which is suitable for both sharing and saving, the second method is more suitable for saving the current screen content.
Step 1. Go to the screen you want to capture.
Step 2. Press the Windows key and PrtScn key simultaneously. The screen may dim briefly to indicate that a screenshot has been captured.
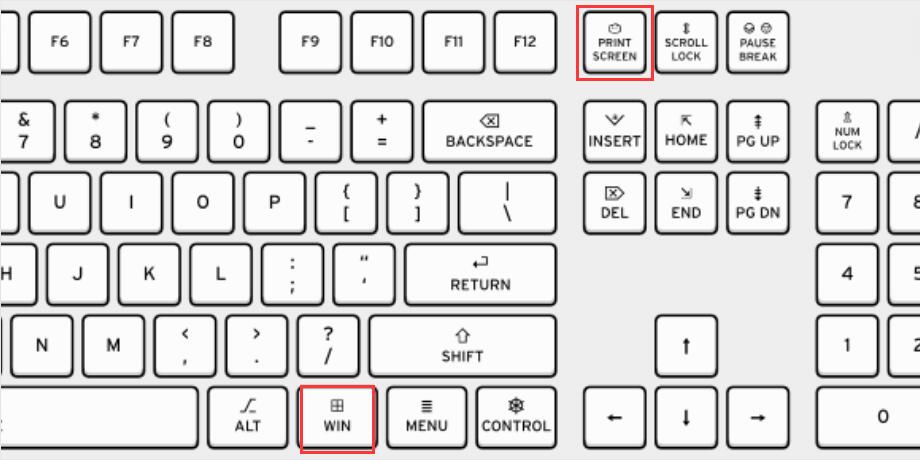
Press Windows and PrtScn Key
Step 3. Press Windows key + E key to open File Explorer > Click “Pictures” in the left navigation pane > Open the “Screenshots” folder to view the screen image you just captured.
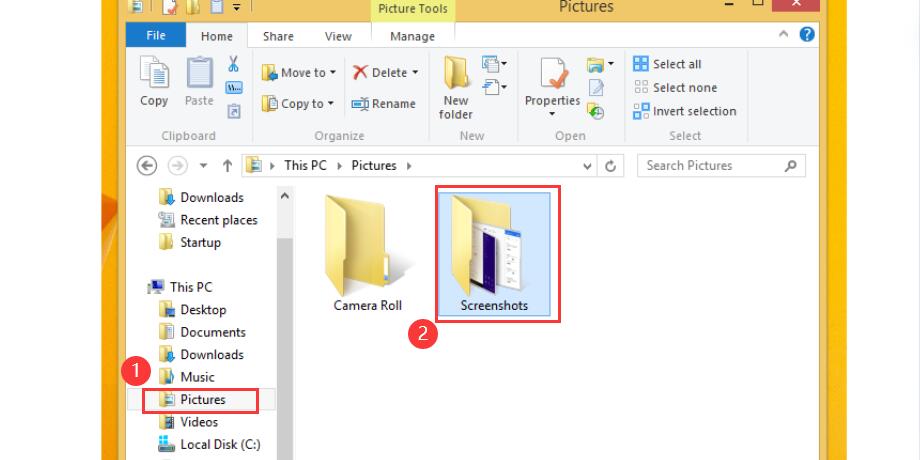
View Saved Screenshots
Snipping Tool:
The third method, and the most flexible one, is to use Windows’ built-in snipping tool application. There you can choose between different types of screenshots: rectangular, free form, windowed and full screen. Apart from this, there are some advanced options. After capturing a screenshot, you can draw, annotate, or add shapes on the screenshot.
However, the screenshot will not be saved automatically in this method. You need to manually save the image to Windows locally after completing editing or copy the screenshot to share it.
Step 1. Search for and open “Snipping Tool” in the Windows search bar.
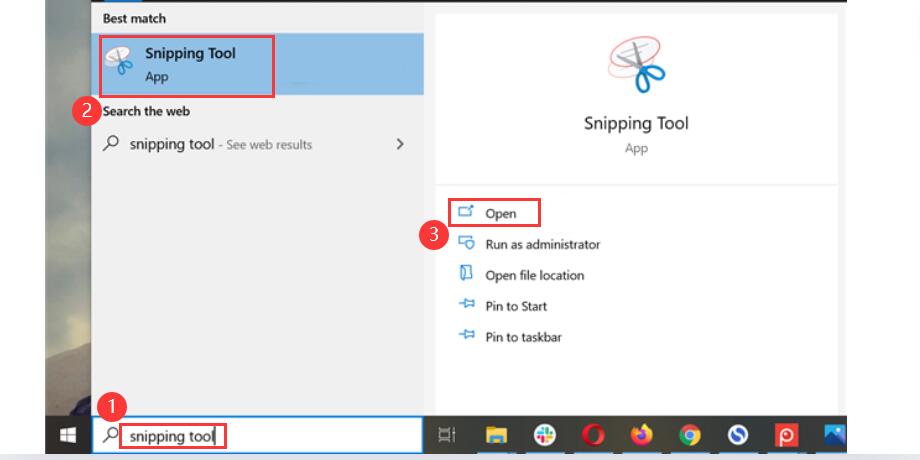
Open Snipping Tool
Step 2. Select the screenshot mode in the “Mode” menu drop-down bar. You can choose from: Free-form Snip, Rectangular Snip, Window Snip and Full-screen Snip.
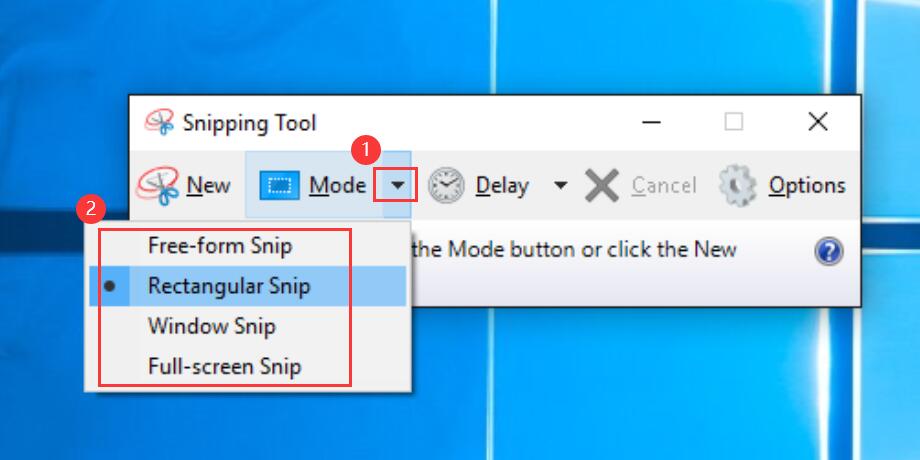
Choose Screenshot Mode
Step 3. Click “New” > Capture screenshot.
- In Rectangular Snip, drag the cursor to select the screenshot range.
- In Window Snip, click on the window you want to capture to take a screenshot.
- In Full-screen Snip, the entire screen will be captured at once.
- In Free-form Snip, draw an outline around the portion of the screen you want to capture.
Step 4. Edit your screenshot.
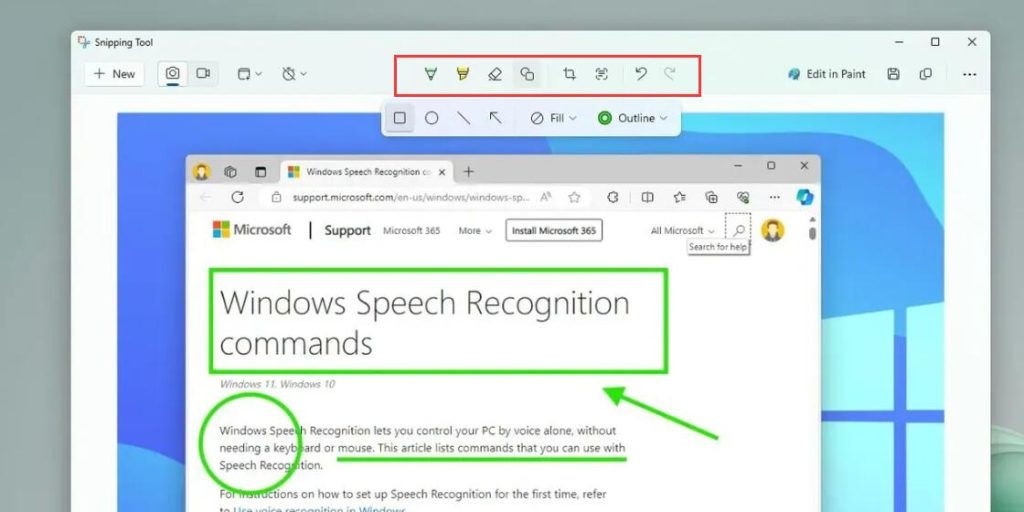
Edit Screenshot with Snipping Tool
Step 5. Click the “Save” icon to save the screenshot, or click the “Copy” icon to copy the screenshot to the clipboard.
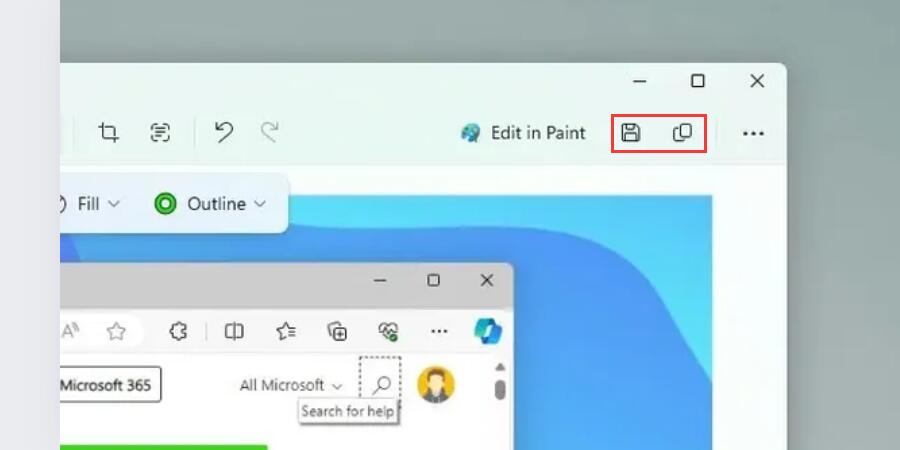
Save or Copy Screenshot
Snip & Sketch:
A similar but quicker method to the one above is to use the Snip & Sketch app. Use the Windows + Shift + S key combination to quickly open the screenshot toolbar.
It also supports 4 screenshot modes: rectangular, window, full screen and free format. The screenshot will be automatically copied to the clipboard and you can paste it into any application. You can also edit screenshots using the Snip & Sketch app.
Step 1. Go to the window where you want to take a screenshot.
Step 2. Press the Windows + Shift + S key combination.

Press Windows Shift and S Key
Step 3. Select the screenshot mode in the upper toolbar > Click the window or drag the cursor to select the screenshot range. When taking a screenshot, the screen dims > The screenshot is automatically saved to the clipboard.
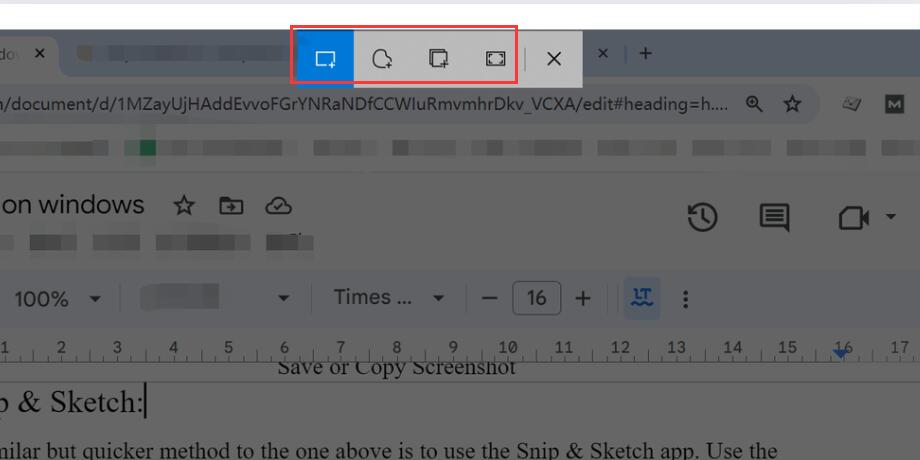
Select Screenshot Mode
Game Bar:
Game Bar is a tool built into Windows that can capture videos and screenshots while playing PC games. But not only can it capture game screenshots, it can also easily capture screenshots of any other open window on your computer.
Step 1. Press Windows + G to open Game Bar.
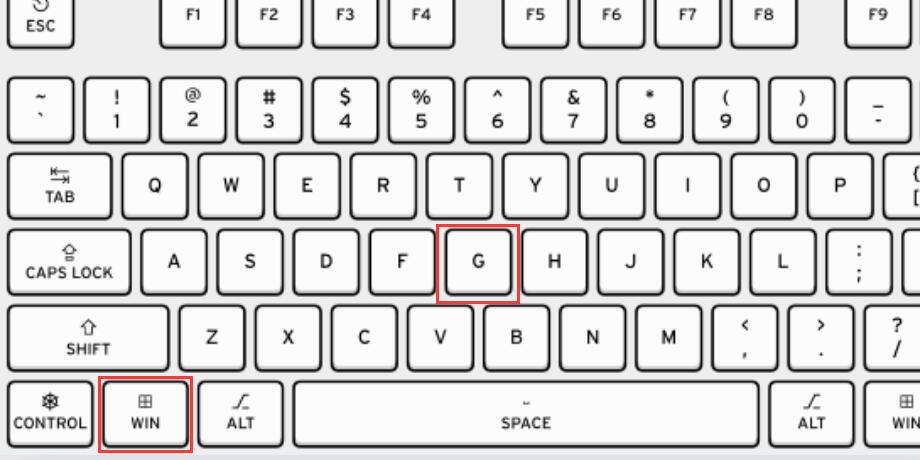
Open Game Bar
Step 2. Click the “Widget Menu” in the toolbar > Select “Capture”.

Open Capture Tool
Step 3. Click the camera icon in the upper left corner or press Windows + Alt + PrtScn to capture a screenshot. Screenshots will be saved to the “Captures” folder in the video library.

Capture a Screenshot
Step 4. Click “Show All Capture” to view the current screenshot.
Power + Volume Up (for tablets and some laptops):
Power + Volume Up (available on tablets and some laptops):
If you’re using a Windows tablet or certain laptop models (such as a Microsoft Surface), the above method may not work. But there is a faster way.
You can quickly take a screenshot by simply pressing the Power button + Volume Up button simultaneously. The captured screenshot will be saved to a local folder.
Step 1. Go to the screen you want to capture.
Step 2. Press the power button + volume up button at the same time. The screen will dim briefly to indicate that the screenshot is successful.
Step 3. Go to “File Explorer” > “Pictures” > “Screenshot” to find the captured picture.
Capture a Screenshot
Conclusion
This article gives the 6 most detailed screenshot steps for different Windows systems and devices.
Either using keyboard shortcuts or using the snipping tool are great options for quickly capturing your screen content and saving and sharing it.